
Your method section is the blueprint of your research. It’s where you lay out, in chronological order, exactly what you did, how you did it, and why you did it that way. The goal here is simple but critical: provide enough detail so another researcher could replicate your study precisely.
This isn’t just a list of steps. It’s the scientific backbone that proves your findings are credible and not just a fluke.
The Blueprint for Credible Research
Think of your method section as the architectural plan for your study. It doesn’t just show the final result; it reveals the structural integrity, the materials used, and the precise construction process. A shaky blueprint leads to a questionable structure, and the same is true for research.

If your methods are vague, poorly justified, or incomplete, reviewers and readers will immediately start to doubt the validity of your results.
Answering What, How, and Why
At its core, your method section needs to provide a transparent, step-by-step account of your work. As you write, you should be implicitly answering three key questions for the reader:
- What did you do? This covers the specific actions you took, the variables you measured, and the tools you used.
- How did you do it? This gets into the nitty-gritty of your procedures, the experimental design, and the sequence of events.
- Why did you do it that way? This is your chance to justify your methodological choices. Explain why a particular design or instrument was the best fit for your research question.
This "what, how, and why" framework helps transform your method section from a dry checklist into a compelling narrative that builds trust and demonstrates the rigor behind your findings.
Core Components You Cannot Skip
While the exact subheadings might change depending on your field, every strong method section is built on a few essential pillars. You need to clearly outline your participants, the materials and instruments you used, and the detailed procedure you followed from start to finish. Forgetting any of these leaves a major gap in your research story.
Here's a quick breakdown of what goes into a solid method section.
Core Components of a Method Section
| Component | Purpose | Key Questions to Answer |
|---|---|---|
| Participants/Subjects | Describes who or what was studied. | Who was in your sample? How were they recruited? What were their key demographics? |
| Materials/Apparatus | Lists the tools, equipment, or stimuli used. | What instruments or software did you use? Were there any questionnaires or surveys involved? |
| Procedure | Explains the step-by-step process of the study. | What did participants do, and in what order? How were variables manipulated or measured? |
| Data Analysis Plan | Outlines how the data was processed and analyzed. | What statistical tests were performed? What software was used for the analysis? |
This table covers the fundamentals. Think of these as the non-negotiable parts that form the foundation of your study's credibility.
A pro tip: The easiest time to write your methods is while you’re actually doing the research—or even better, while you're still planning it. Just make a note to come back and reorganize it later to make it as clear as possible for the reader.
If you're looking for more context on how this all fits together, check out our complete guidelines for writing a research paper. It will help you see how a well-crafted method section supports the entire manuscript.
Describing Your Participants and Setting
Once you've laid out your research design, it's time to introduce the stars of the show: your participants. Who were they? And where did all this research happen? This isn't just about rattling off a list of demographics; it's about painting a clear picture for your reader so they know exactly who your findings apply to.

This kind of clarity is what gives your results generalizability. After all, what you learn from a study of college sophomores in a controlled lab probably won't hold true for retired executives out in the real world. Nailing this context is how you build a methods section that can stand up to tough questions.
Defining Your Study Population
You want to start by getting specific about your participants. How many people did you study? What were their key characteristics—things like age, gender, or any other variable that’s actually relevant to your research? Precision is your friend here.
Don't just say, "Participants were university students." That's too vague.
Instead, give the full story: "A total of 124 undergraduate students (78 female, 46 male; mean age = 20.4 years, SD = 1.8) from a large public university in the Midwest participated in exchange for course credit." Right away, the reader has a solid mental image of your sample.
From there, you need to explain how you found them. This means getting into the nitty-gritty of your sampling method and your criteria for who got in and who didn't.
Justifying Your Sampling and Selection Criteria
Your sampling method is all about how you recruited people from the wider population you're interested in. You have to be completely transparent here. Did you grab a convenience sample because it was the most practical option? Or did you use a more complex stratified sample to make sure different groups were represented?
A few common ways to do this are:
- Convenience Sampling: You select people who are easy to reach (think: students in an intro psych class). It's practical, but not always the most robust.
- Random Sampling: The gold standard for generalizability. Every single person in the population has an equal shot at being chosen.
- Stratified Sampling: You divide the population into important subgroups (or strata) and then sample randomly from each one to get proportional representation.
Just as important as your sampling strategy are your inclusion and exclusion criteria. These are the ground rules that determined who was eligible for your study.
Inclusion criteria are the "must-haves" for a participant to be included. For example, if you're studying a new antidepressant, an inclusion criterion might be "a clinical diagnosis of major depressive disorder." Exclusion criteria are the deal-breakers—the things that disqualify someone, like "currently taking other psychiatric medication."
Describing the Research Setting
So, where did this all go down? The setting gives crucial context that can absolutely shape behaviors and outcomes. A study run in a quiet, sterile lab is a world away from one conducted in a chaotic public park or through an anonymous online survey.
Describe the physical or virtual space with enough detail that the reader gets it. For a psychology experiment, you might say it took place in a "sound-attenuated experimental booth equipped with a computer and response keypad." For an environmental study, you might describe the "20-hectare plot of mixed-conifer forest in the Sierra Nevada mountains, characterized by an average elevation of 1,500 meters."
This kind of detail grounds your research in reality and completes the methodological picture for your reader.
Getting Specific About Materials and Instruments
Once you've outlined who your participants are, it's time to detail the tools you used to get your data. This isn't just a shopping list; it’s a technical breakdown that lets another scientist find the exact same instruments you used. Transparency here is what makes science reproducible.
Think of it like a recipe. If a chef just says to add "spices" without naming them or giving amounts, you'll never be able to recreate the dish. In the same way, just saying you used "a survey" isn't nearly enough. Which one? Who made it? How do we know it’s reliable?
Specifying Your Tools and Equipment
When you're dealing with physical equipment in a quantitative study, precision is everything. You need to give enough information for someone to go out and buy or borrow the very same tool. That usually means listing the manufacturer and the specific model number.
For example, don't just write "a microscope was used." That's way too vague. Instead, get specific: "Images were captured using a Zeiss Axio Observer Z1 inverted microscope." See the difference? All the ambiguity is gone.
This same rule applies to software. It’s not enough to mention "statistical software." You need to name the program and, crucially, the version you used, like "SPSS Statistics Version 28" or "R version 4.2.1." Why the version? Because software updates can sometimes tweak algorithms or functions, and for true replication, that small detail matters.
Describing Surveys and Psychometric Scales
If your research relied on established questionnaires or psychological scales, your job is to point the reader to the source and show that it was a good fit for your study.
Cite the Source: Always, always cite the original paper where the instrument was first developed and validated. For instance, "We measured self-esteem using the 10-item Rosenberg Self-Esteem Scale (Rosenberg, 1965)."
Report Reliability: You should also report reliability stats, like Cronbach's alpha, from your own sample. It’s a good way to show the measure worked as expected with your participants. A simple sentence like, "In the current study, the scale demonstrated good internal consistency (α = .88)," does the trick.
Describe Novel Instruments: What if you made your own questionnaire? Then you have to describe it from the ground up. Explain its structure (e.g., a 5-point Likert scale), give a few sample items so readers get a feel for it, and walk through how you developed and validated it.
Being this thorough is simply part of the deal in academic writing. Major style guides like APA are built around creating a clear roadmap for replication, and the Materials subsection is a huge part of that. These details prove your work meets the high standards for clarity and scientific rigor. You can learn more about the specifics of APA style for methods sections on Scribbr.com.
The goal is to leave nothing to the imagination. Someone in a different lab, maybe years from now, should be able to pick up your paper and know exactly what tools you used to get your results.
Nailing the Step-by-Step Procedure
Once you’ve covered your participants and materials, you get to the narrative heart of the methods section: the procedure. This is where you walk the reader through exactly what happened, step by step, from the moment a participant started until you collected that final piece of data. Think of it as a script another researcher could follow to replicate your study.
You’ll be writing this part entirely in the past tense. After all, you’re telling the story of what you’ve already done. It's less of a dry instruction manual and more of a factual retelling of the research journey.
Structuring the Chronological Flow
A clean, chronological order is everything here. Start at the very beginning and move forward logically. Don't jump around. For example, you’d obviously describe how participants gave informed consent before explaining the task they performed. A confusing procedure makes your work harder to follow and can even undermine its credibility.
It helps to kick things off by stating your overarching research design. Was it a within-subjects experimental design? A longitudinal correlational study? Naming it upfront gives the reader a frame of reference for the steps that follow.
The simple, three-phase flow in the visual below is a great way to map out your own research steps.
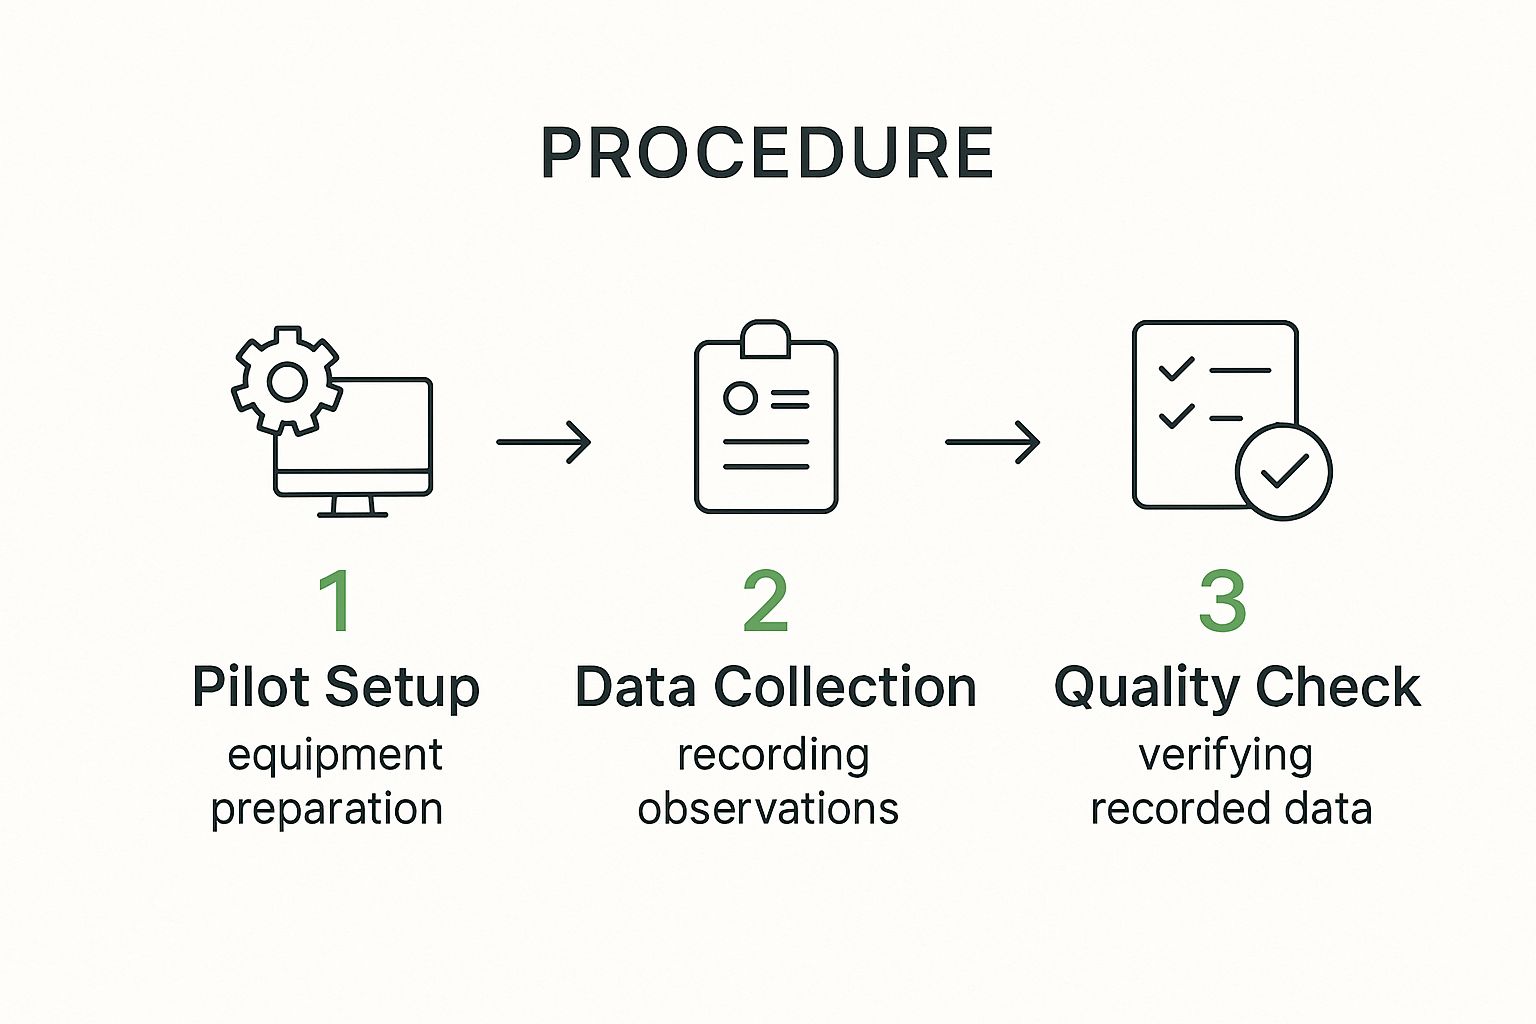
This breaks a typical process down into a logical sequence, from initial setup and data collection to the final checks, making sure you don't miss a beat in your explanation.
Finding the Right Level of Detail
One of the trickiest parts of writing the procedure is hitting that sweet spot with detail. You need enough information for someone to replicate your work, but not so much that you bog them down with trivial points.
Here are the essentials you'll want to cover:
- Task Sequence: Clearly lay out the order of events. For instance, "Participants first completed a demographic questionnaire, then moved on to the primary cognitive task, and finished with a brief debriefing survey."
- Instructions: Give a summary of the instructions participants received. You don't need to quote everything verbatim unless the specific wording is critical to your design. Something like, "Participants were instructed to respond as quickly and accurately as possible" usually works just fine.
- Group Assignments: If you had experimental and control groups, explain how people were assigned to them (e.g., random assignment). Then, describe what each group did differently.
- Duration: Note how long key parts of the study took. For example, "The main experimental task took approximately 25 minutes to complete."
Your procedure should read like a direct report of what actually happened. Steer clear of mentioning pilot studies or plans that you ended up scrapping. Stick to the final, executed protocol.
Crafting a clear procedure is foundational to a strong methods section. If you want a better sense of how this piece fits into the bigger picture, check out a detailed research paper outline to see how all the sections connect. A well-organized procedure doesn't just provide clarity; it reinforces the rigor and thoughtfulness behind your entire investigation.
Common Mistakes That Can Get Your Paper Rejected
Getting your methods section right is your first line of defense against reviewer criticism. It’s where you build trust. A sloppy or vague method section, on the other hand, is one of the fastest ways to get your manuscript sent back.
Even small mistakes can create enough doubt to jeopardize your paper. If you want to survive the peer-review gauntlet, avoiding these common pitfalls is a must.

Most of these errors boil down to a simple lack of detail. Reviewers are trained to spot ambiguity, and a fuzzy methods section is a huge red flag signaling a lack of scientific rigor.
Vague Descriptions and Imprecise Language
One of the quickest ways to annoy a reviewer is to use vague language. Phrases like "participants were recruited via email" or "data were analyzed" just don't cut it. They leave far too many questions unanswered.
A reviewer will immediately start thinking: How was that email list generated? What were the inclusion criteria? Which specific statistical tests did you run?
Just look at the difference between a weak statement and a precise one:
- Vague: Participants completed a standard cognitive test.
- Precise: Participants completed the Stroop Color and Word Test (Stroop, 1935) on a 15-inch monitor, and their response times and accuracy were recorded.
This level of precision is non-negotiable. Every step you describe needs to be clear enough for someone else to replicate it perfectly.
Mixing Your Methods with Your Results
This is a classic mistake. The methods section is for describing what you did, not what you found. It’s the blueprint of your study, planned and executed before you ever looked at the outcomes.
Things like dropout rates or the final number of participants you managed to recruit? That all belongs in the Results section. The methods section should only state your planned recruitment number and the criteria you set from the start.
Your study protocol is a fixed record of your plan. The results are the story of what actually happened when you followed that plan. Keep them separate. It’s fundamental to a logical and scientifically sound paper.
This separation is a core principle of scientific writing. A 2007 article in PMC emphasizes this, noting that the methods section should be written in the past tense and detail only the work completed prior to data analysis. If you're looking for more on this, you can dig into the guidelines for clear scientific communication on PMC.
Overlooking the Final Polish
Finally, don't undermine all your hard work with simple typos and grammatical errors. It sounds trivial, but awkward phrasing or sloppy mistakes suggest a lack of care, which can make reviewers question the quality of the research itself.
To avoid this, it’s helpful to understand the key differences between proofreading and editing. Taking the time for one last, thorough review is a crucial final step before you hit "submit."
If you struggle with this part, our guide on https://naturalwrite.com/blog/how-to-edit-a-research-paper offers some really practical steps for refining your manuscript. Catching these small issues can make a huge difference in how your work is perceived.
We see the same issues pop up again and again in manuscripts. Here’s a quick-glance table breaking down the most frequent errors and, more importantly, how to fix them.
Common Method Section Errors and Fixes
| Common Error | Why It's a Problem | How to Fix It |
|---|---|---|
| Vague language like "data were analyzed" or "standard procedures were used." | It prevents replication and makes the study seem less rigorous. Reviewers can't evaluate the validity of your approach. | Be hyper-specific. Name the exact statistical test (e.g., "two-way ANOVA"), the specific questionnaire (e.g., "Beck Depression Inventory-II"), or the software version used. |
| Missing justifications for choices. | The reader doesn't understand why you chose a particular method, material, or sample size over another. | Briefly explain your reasoning. For example, "A power analysis indicated a sample size of N=85 was required to detect a medium effect size with 80% power." |
| Mixing methods and results. | It breaks the logical flow of the paper (Introduction -> Method -> Results -> Discussion) and confuses the reader. | Move any mention of findings, participant numbers that changed during the study, or dropout rates to the Results section. The Method section is the "before" story. |
| Lack of ethical considerations. | It's a major red flag for journal editors and suggests a failure to follow research integrity protocols. | Explicitly state that you obtained informed consent and received approval from the relevant Institutional Review Board (IRB) or ethics committee. Provide the approval number. |
| Typos and grammatical mistakes. | These errors signal carelessness and can cause a reviewer to lose confidence in the overall quality of your research. | Proofread meticulously. Read the section aloud, use grammar-checking software, and have a colleague or mentor review it before submission. |
Taking a few extra minutes to check your work against this list can save you from a "revise and resubmit"—or even an outright rejection. A clean, clear, and comprehensive methods section sets the stage for the rest of your paper and tells reviewers you’re a serious researcher.
Frequently Asked Questions
Even with a solid plan, you're bound to hit a few snags when you're deep in the weeds of your methods section. Let's walk through some of the most common questions that come up so you can tackle those tricky spots with confidence.
How Much Detail Is Too Much Detail?
This is the classic balancing act. You're aiming for the sweet spot where another researcher has just enough information to replicate your study without getting bogged down in useless fluff.
Think of it this way: you absolutely should mention the specific model of the centrifuge you used. You don't need to describe pressing the "on" button. Your focus should be on the details that could actually change the outcome. If a particular setting on a piece of equipment was critical, state it. If it was just the standard factory default, you can probably leave that out.
The real litmus test is asking yourself, "Could a different choice at this step change my results?" If the answer is yes, that detail belongs in your methods section.
First Person or Third Person Voice?
Good news: the old, stuffy rules are changing. Using "I" or "we" has become much more common and is now widely accepted in many fields. Writing in the first person ("We recruited participants...") is almost always clearer and more direct than clunky passive constructions ("Participants were recruited...").
That said, some journals or disciplines still cling to the traditional third-person, passive voice. Before you start writing, always check the author guidelines for your target journal. If they don't give a clear preference, go with the voice that offers the most clarity. In most cases today, that's going to be the active, first-person voice.
Where Does My Data Analysis Plan Go?
Your data analysis plan should be the final subsection of your methods. This is where you tell the reader exactly which statistical tests you planned to use to analyze your data and test your hypotheses.
For example, you might write something like: "To test our primary hypothesis, we conducted a two-way analysis of variance (ANOVA) with condition (experimental vs. control) and time (pre-test vs. post-test) as factors."
Laying this out beforehand shows your analytical approach was planned from the start, which adds a ton of credibility to your findings. Just remember: don't report the results of the tests here—this is only for describing your game plan.
Is My Method Section Hurting My Chances of Publication?
It absolutely can. The quality of your methods section is a huge deal for peer reviewers. In fact, a 2023 survey found that around 75% of reviewers pointed to unclear or insufficient methods as a key reason for recommending revisions or outright rejection.
That same analysis revealed that manuscripts with vague procedures were 40% less likely to even make it past the initial editorial screening. You can read more about how methods impact publication rates on Otio.ai. A strong, transparent method section isn't just a formality—it's your first and best line of defense.
Ready to transform your AI-generated drafts into polished, publication-ready text? Natural Write instantly humanizes your writing, ensuring it bypasses AI detectors while maintaining clarity and your original voice. Perfect your research paper, essay, or blog post with a single click. Try it for free at https://naturalwrite.com.