
Writing a blog post outline is your strategic blueprint for creating focused, reader-friendly content. It’s the process of mapping out your article's structure—H1, H2s, H3s, and all—before you start writing. You populate these sections with your key talking points, data, and examples ahead of time, ensuring the final piece is logical, comprehensive, and perfectly aligned with what your reader is searching for.
Why Your Outline Is the Secret to Better Content
A great blog post doesn't just happen; it's architected. Skipping the outline is like trying to build a house without a blueprint. You might end up with something, but it’ll probably be disorganized and unstable. An outline transforms your writing process from a chaotic scramble of ideas into something streamlined and purposeful.
Think of it as your roadmap. It guarantees every section serves a purpose, every argument flows logically, and every point directly addresses what your reader came to find. This structured approach is how you create content that actually delivers value.
From a Jumble of Ideas to a Coherent Narrative
It’s easy to get lost without a plan. You might repeat points, forget a crucial piece of data, or wander off on a tangent that loses your reader. An outline acts as your guardrail, keeping you locked in on the core message.
This structure helps you organize your thoughts into a coherent narrative that guides the reader from one point to the next, seamlessly. That kind of clarity isn't just good for the reader—it's essential for SEO. Search engines like Google love content that’s well-structured and easy to understand. When you map out your headings (H2s, H3s) in an outline, you’re creating that logical hierarchy algorithms can easily crawl and comprehend.
Saving Time and Boosting SEO Performance
The time you invest upfront in an outline pays you back tenfold later. You'll spend way less time editing and rearranging a messy draft. A solid outline is also a critical part of a wider strategic approach, like the one detailed in this ultimate UK growth guide to blogging for businesses.
By planning where to place keywords, internal links, and calls-to-action, you build a post designed to perform from the ground up. This methodical process helps you stand out in an incredibly crowded space.
With over 600 million blogs publishing roughly 7.5 million posts daily, a structured approach isn't optional anymore—it’s a survival tactic. In fact, bloggers who strategically update older content are 2.5 times more likely to see strong results, which just highlights the power of a solid, revisable structure.
Building Your Outline from the Ground Up
Alright, let's get down to it. Moving from a blank page to a solid content plan is where the magic really happens. But the first step isn't about scrambling for headings or keywords—it’s about getting inside your audience's head.
What are they actually asking? What problem sent them to Google in the first place? Your entire job is to turn those questions and needs into the skeleton of your article.
Every great blog post I've ever written or edited was built around a single, powerful "big idea." This is your core message—the one thing you need your reader to walk away with. Before you even think about a single heading, nail this down in one sentence.
For this article, my big idea might be: "A detailed blog post outline saves hours of writing time and dramatically improves SEO performance by aligning content with user intent from the start." That sentence is now my North Star. It keeps every section, every paragraph, and every point focused and purposeful.
Crafting Your Content Architecture
Once you’ve locked in your big idea, you can start building the structure.
Start with a working title. It doesn't have to be perfect, but it should capture the essence of your post and, ideally, include your main keyword. Something like, "How to Write a Blog Post Outline That Actually Works" immediately sets a clear expectation for the reader.
Next, I map out the main sections using H2 headings. Think of these as the chapters of your article. They need to work as mini-headlines, each tackling a key piece of your big idea.
A classic flow often looks something like this:
- Introduction: Hook 'em and state the problem they're facing.
- Why It Matters: Explain the value. Why should they care?
- The How-To: This is the meat. Break down the process into logical parts.
- Common Pitfalls: Help them avoid the mistakes you've probably made yourself.
- Conclusion: Sum it all up and tell them what to do next.
From there, get more granular with H3 subheadings under each H2. If your H2 is "The How-To," your H3s might be "Start with Audience Research," "Define Your Core Message," and "Map Out Headings and Subheadings." This kind of hierarchy is absolutely fundamental if you want to learn how to structure a blog post that both people and search engines love.
Plotting the Details in Each Section
With your headings in place, it’s time to add the real substance. I do this with simple bullet points under each heading. This is where you dump all the key arguments, data points, personal stories, and examples you plan to use—without getting lost in writing full sentences.
A great outline is so detailed that you could hand it off to another writer, and they could create a post that perfectly matches your vision. It needs to include not just the topics, but the specific evidence and insights that will make your content stand out.
So, under an H3 like "Map Out Headings," my rough notes might look like this:
- Explain the H2 vs. H3 relationship.
- Pro-tip: Use question-based headings to target "People Also Ask" boxes.
- Show a "before" and "after" example of a vague vs. a super-specific heading.
- Drop a stat about how well-structured content improves time-on-page.
Finally, I strategically plot out my calls-to-action (CTAs) right in the outline. Where does it feel natural to link to another one of my articles? Where could I offer a download? Where should I ask a question to get the comments rolling?
Planning these engagement points from the start makes them feel helpful, not salesy. Once this is all done, you have more than just a plan—you have a repeatable system for building a powerful outline, every single time.
How to Adapt Your Outline for Different Blog Posts
An outline isn't a one-size-fits-all template. The rigid, step-by-step structure that makes a how-to guide so effective would absolutely kill the persuasive flow of an opinion piece. The real secret to creating consistently great content is learning how to adapt your blueprint to fit the format.
Think of it like an architect's blueprint. You wouldn't use the same plan for a skyscraper as you would for a single-family home, right? The same logic applies here. Once you master a few core frameworks, you'll know exactly how to structure an outline for any topic you decide to tackle.
Before you even think about the specific format, though, the foundational work is always the same: know your audience, nail down your core idea, and then build your structure.
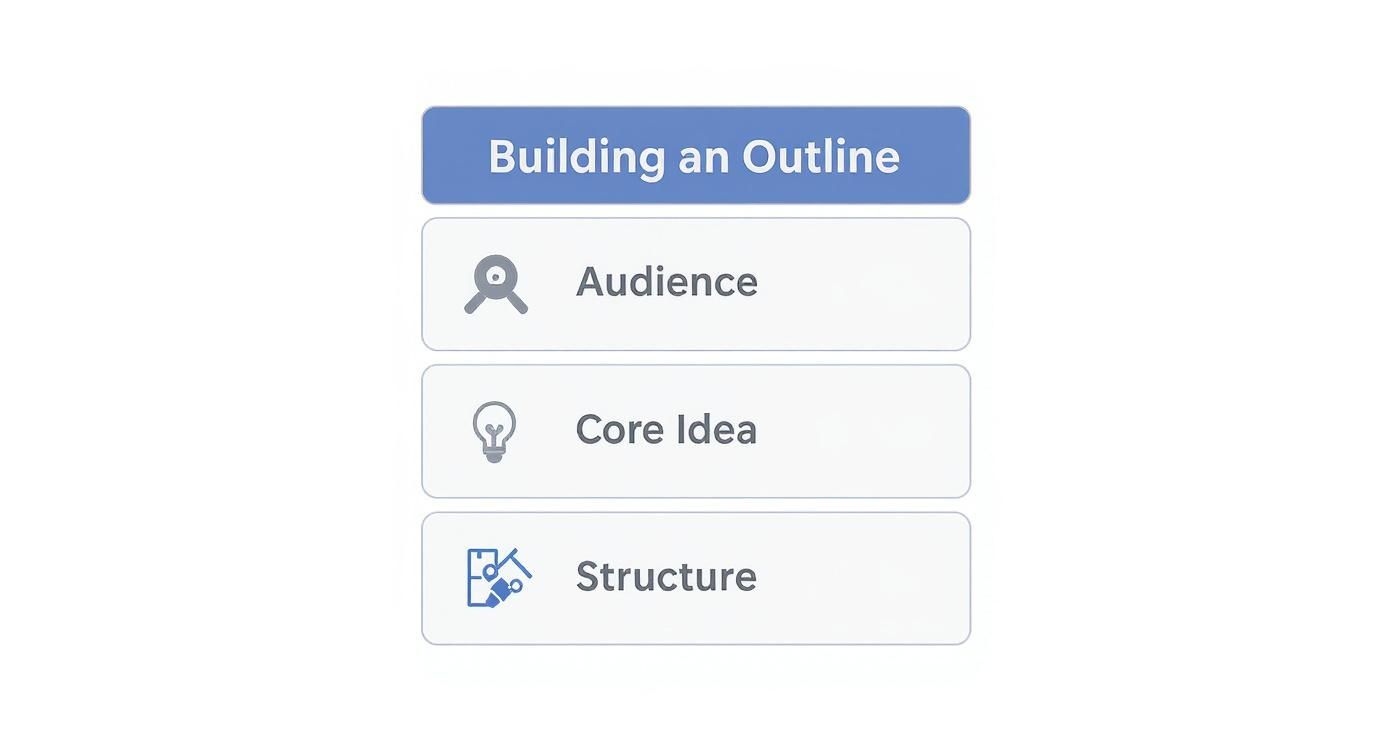
Getting this part right ensures your content is grounded in what your reader actually needs, setting you up for a much more powerful article.
Outline Structures by Content Type
To help you visualize how these differences play out, here’s a quick comparison of how to approach the structure for some common blog post types.
| Content Type | Key Structural Element | Primary Goal |
|---|---|---|
| How-To Guide | Sequential, Actionable Steps | Enable user success |
| Listicle | Numbered or Bulleted Items | Promote scannability and quick value |
| Thought Leadership | Argument-Driven Narrative | Persuade and challenge thinking |
| Case Study | Problem-Solution-Result Story | Build trust and prove expertise |
Each of these formats requires a unique flow to be effective, which is why starting with the right structural mindset is so important.
Structuring a How-To Guide
This is your most direct, functional format. Clarity is everything. Your outline needs to create a logical, step-by-step path that’s impossible for the reader to get lost on.
The entire goal here is to help the reader succeed. That means your outline should be built around clear, action-oriented headings.
- H1: How to [Achieve a Specific Outcome]
- H2: What You'll Need (Prerequisites)
- A simple list of tools, software, or info needed upfront.
- H2: Step 1: [Start with a Verb]
- Use bullets to detail the specific actions for this step.
- H2: Step 2: [Another Action Verb]
- Again, use bullets to break down the micro-actions.
- H2: Troubleshooting Common Problems
- Anticipate where readers might get stuck and help them out.
There's a reason this structure is so popular. In fact, 76% of bloggers publish 'how-to' articles, making it the most dominant content type out there. As detailed in these blogging statistics from WPBeginner.com, people are actively searching for solutions, and a well-outlined how-to post delivers exactly that.
Outlining a Compelling Listicle
Listicles are all about scannability. They're designed to deliver value in quick, digestible bites. Your outline's main job is to create a structure that keeps people scrolling while making each point feel satisfying.
Don’t just make a list of H2s. Your outline should plan for a short, punchy explanation for each item. Your intro is also critical—it needs to hook the reader by promising a curated, high-value list that solves a problem.
- H1: X Best/Ways/Tips for [Topic]
- H2: 1. [First Item on the List]
- Use bullet points to quickly explain why it's on the list or how to use it.
- H2: 2. [Second Item on the List]
- Follow the same format to explain its value.
- H2: 3. [Third Item on the List]
- And so on...
The trick to a great listicle is consistency. In your outline, plan for each list item to have a similar length and structure. This creates a predictable rhythm that makes the post a breeze for readers to scroll through.
Building a Thought Leadership Piece
Here, you're shifting from instructor to persuader. Unlike a how-to guide, an opinion or thought leadership article is built to make an argument. Your outline has to guide the reader from a provocative hook to a memorable conclusion.
Think of this structure less like a manual and more like a compelling speech or a debate. You're building a case, brick by brick.
- The Hook (Introduction): Start with a bold claim, a surprising statistic, or a counterintuitive observation. Make a note in your outline of the exact story or data point you'll use.
- The Status Quo (The Problem): Use an H2 to lay out the current, flawed way people think about your topic.
- The New Perspective (Your Solution): This is the heart of your article. Dedicate several H2s to breaking down your unique viewpoint. For each H2, plan to back it up with data, personal anecdotes, or other evidence.
- Addressing the Doubters: Acknowledge and dismantle potential counterarguments. This shows you've thought things through and builds major credibility.
- The Takeaway (Conclusion): Don't just rehash what you said. Challenge the reader to think differently or take a specific action based on your new perspective. Give them something to chew on.
Weaving SEO and User Experience into Your Plan

Here's a secret that took me a while to learn: your outline is the exact moment when good SEO and great user experience stop being two separate things. They become one.
When you nail this part of the process, you're building a plan that serves search engines precisely because it serves the reader first. This isn't about jamming keywords into headings. It's about using your keyword research to figure out what people are actually asking, then structuring your outline to answer those questions in the most logical, helpful way you can.
Map Keywords to Reader Questions
Think of your headings and subheadings (your H2s and H3s) as signposts. For Google, they create a clear topical hierarchy, signaling what each section is about. For your readers, they make your content scannable, letting them find the exact snippet of info they need in seconds.
Your outline is where you map all of this out. Go through your keyword list and assign your primary and secondary terms to the headings that directly address the intent behind them. For a deeper dive on this, check out our guide on how to conduct keyword research. This simple step ensures your content is both discoverable and genuinely useful.
Plan for a Logical Flow
A great reading experience feels effortless. The ideas just flow from one to the next, pulling you along. That narrative doesn't happen by accident—it happens in the outline.
Arrange your sections to tell a story. Start with the problem, move to the solution, show a few examples, and then wrap it all up. This natural progression keeps people on the page longer, which is a signal Google definitely notices. A well-structured plan is a huge part of optimizing blog posts for SEO.
Key Takeaway: An outline that prioritizes a logical flow for the reader inherently creates a structure that search engines can easily understand. You’re building for both audiences at once.
This isn’t just a nice-to-have. It’s a major factor in attracting and keeping traffic. It’s no surprise that 32% of bloggers lean on SEO strategies to drive traffic. And with over 90% of them also using social media, an outline that includes shareable snippets gives you a strategic edge from the start.
Strategically Place Visuals and Links
Finally, a great outline doesn't just map out the words. It also maps out the experience. As you plot your key points, start asking yourself a few questions:
- Where would a screenshot or image make this clearer? Just drop a note like
[add image of X]right there in the outline. - Could this section be a quick bulleted list? Breaking up dense text is one of the easiest ways to make information more digestible.
- Where can I link to another one of my articles? Planning your internal links ahead of time is a pro move for building topical authority and keeping readers on your site.
By thinking about these elements from the beginning, they feel integrated and helpful instead of like an afterthought. You end up with content that’s designed to perform because, at its core, it’s built to serve the person on the other side of the screen.
Common Outlining Mistakes to Avoid

Knowing how to build an outline is one thing, but sidestepping the common traps is what separates a decent plan from a great one. These mistakes can quickly turn a promising idea into a frustrating mess, but they’re easy to fix once you know what to look for.
The most common error I see is an outline that’s way too vague. You jot down headings like "Benefits" or "Examples" and think you're making progress. But when it's time to write, those placeholders give you zero direction. You're left staring at a blinking cursor, forced to do the heavy thinking you were supposed to handle during the outlining stage.
The fix is simple: get specific. Instead of "Benefits," your heading should be something like "How Outlining Saves Editing Time and Boosts SEO." Now that's a clear directive. It keeps you focused and moving forward.
Being Too Rigid
On the flip side, some people create outlines so detailed and rigid they practically suffocate creativity. If you script every single sentence, the writing process becomes a tedious fill-in-the-blanks exercise. There’s no room for spontaneous ideas or a natural voice to emerge.
Your outline is a guide, not a cage. Think of it as a strong architectural frame that still allows you to choose the paint colors, furniture, and decor as you go.
Leave yourself some room for discovery. Use bullet points for key ideas under each heading instead of fully formed paragraphs. This gives you structure without killing the creative spark that makes writing fun.
Forgetting Your Audience and SEO
It’s surprisingly easy to get so lost in what you want to say that you forget who you're writing for. Every single heading and talking point should directly address a question or pain point your reader actually has. If a section doesn't serve them, it probably doesn't belong in the post.
This often goes hand-in-hand with ignoring SEO until the final draft—a huge mistake. It’s far easier to weave keywords into your structure from the start than to awkwardly stuff them in later. These kinds of missteps add up and often require a ton of cleanup. Using a good self-editing checklist can help you catch structural and SEO issues before they become bigger problems.
Ultimately, avoiding these mistakes helps you build a smarter, more effective outlining habit. It ensures your final post isn't just well-structured but is also genuinely valuable to your readers and visible to search engines.
A Few Common Questions About Outlining
Even with a solid game plan, a few questions always seem to pop up. Let's run through some of the most common ones I hear from writers who are just starting to get serious about their outlining process.
Think of this as your quick-reference guide. Getting these little details right can be the difference between an outline that just sits there and one that actually makes the writing process faster and smoother.
How Long Should I Spend on an Outline?
There's no magic number here, but I've found a good rule of thumb is to spend about 20% of your total content creation time on research and outlining.
So, if you’ve blocked out five hours for a blog post, a solid hour on the blueprint is an investment that will absolutely pay for itself. It might feel slow upfront, but it dramatically speeds up the actual writing. You’ll spend way less time staring at a blank cursor, I promise.
What Are the Best Tools for Outlining?
Honestly? You don't need anything fancy. The best tool is the one you’ll actually use.
- Google Docs: It's free, it’s collaborative, and it’s perfect for simple, no-fuss outlines.
- Notion or Trello: These are great if you want to plug your outlines into a bigger content calendar or project management system.
- A simple notebook: Sometimes, the best ideas come from stepping away from the screen. Pen and paper are totally distraction-free.
Focus on the process, not the platform. A detailed outline in a basic text file is infinitely more valuable than a vague one in a premium app.
Should an Outline Include Full Sentences?
For the most part, no. The outline’s job is to create the skeleton, not the muscle. Use short phrases and bullet points to map out the key ideas, data points, or arguments you plan to make.
The exceptions? I always write out my final H1, H2, and H3 headings. It locks in the structure. I also recommend drafting a rough version of your intro. It helps you nail down the core message and flow before you dive into the body copy.
How Detailed Should It Be?
Here’s the ultimate test: your outline should be so clear that you could hand it to another writer, and they could produce a post that closely matches what you had in your head.
That means it needs all your final headings and subheadings, the key talking points for each section, any specific stats or examples you plan to use, and even notes on where you want to drop in internal links or a call-to-action. A plan this solid is your best defense against writer's block. It basically guarantees the final piece will be coherent and impactful.
Ready to turn your outlines into perfectly polished, human-sounding content? The Natural Write platform transforms robotic AI text into natural language that bypasses AI detectors with a single click. Start refining your drafts today at https://naturalwrite.com.